7TV Flashing Blades, Penguins and Speedpaints

On the last Saturday of April I made the short journey down the M1 to Nottingham to attend the ‘7TV Flashing Blades’ event being hosted by Wayne Bollands at the Rose and Crown in Lenton.

Along with eight other gamers it was time to assemble our casts of swashbuckling heroes for a few games of 7TV Fantasy. While nominally based around the idea of ‘flashing blades’, the casts present were the usual varied set of ideas, limited only by the imaginations of the respective ‘directors’.

This very much included myself, bringing as I did a cast comprised entirely of penguins. Now admittedly these were heavily armoured medieval fighting penguins, but penguins all the same. My original plan was to go with a ‘Robin of Sherwood’ themed band using some lovely metal minis I have had in my backlog for quite a while now. This would have included a magic user in the form of ‘Herne the Hunter’ and other cast members based on the classic 1980s TV series. In the end though I just left it too late to get all the figures I was wanting to use painted up to the standard that the sculpts deserved, so I need to look elsewhere.

Despite my final choice of cast and my initial musings about Robin Hood, of course this is what first sprang to mind!

I came across the Anthro Armies Penguin Army STL files on Kickstarter a few weeks ago and really liked the look of them. Having backed the project and then received the files pretty much straight away (often an advantage of backing a 3D printing crowd funding campaign) I got to work printing and then painting.

I also happened to receive in the post around the same time the new ‘Mega set’ of Speedpaints from the Army Painter, and with only a week to go at the time to the event, what better opportunity to test them out.

Prior to painting the minis were given an undercoat of Citadel Wraithbone spray

The figures as you can see are cartoony and therefore quite bulky. With minimal clothing, what uniforms there were in the most part provided a good canvas for the use of browns and tan shades from the set. This is not intended to be a full review of Speedpaints, but in summary they work really well. Some of the colours (particularly the blues) to my mind cover and shade with more contrast (and therefore work better) than their equivalents from the Citadel Colour Contrast range. In other cases (like for example with the reds) I prefer the effect that the Citadel versions give. Basically and in conclusion, they are all tools that are useful and I’ll be using both moving forward. The Speedpaints browns for example a different enough to the Contrast ones in colour to provide quite a range now of different shades and you can really never have enough browns when painting miniatures!

So in the end the penguins got painted in a mix of Speedpaints, Contrast and (for the metallics) normal acrylics. I didn’t do any highlighting, but did selectively apply washes (particularly over the metallics). A final note on the Speedpaints before I move on – they really are a one coat solution and I have noticed that if you do try to highlight and particularly dry brush they can have a tendency to ‘rub off’ even when dry.

Completed penguin with crossbow

So I had got the bulk of my cast done, but really needed some stars and co-stars in place. Looking at the available profile cards in 7TV Fantasy, rather than go for an anthropomorphic theme, I basically decided to go with a standard fantasy warband (who just happened to be penguins). As such I needed some leaders and magic users. Luckily a previous release from the same sculpter who released the Penguin Army covered these more specific ‘adventuring party’ tropes (but in Penguin form). As such I ended up with a Paladin, Barbarian and Wizard to flesh out the cast and these were printed and painted up at the same time.

Paladin and Barbarian ready for painting

In the end I fully completed painting miniatures for the cast (and then some) over only a few days, probably only about four and five hours in total.

The completed kingdom of Findus!

The day of gaming itself was hugely enjoyable and followed the usual casual format which 7TV enables and I love so much. I threw together a very quick table setup using a grass matt, some trees and a fantasy airship model I 3D printed a couple of years ago and brought that along for the day too.

Table setup on the day

My first game was against 7TV newcomer Torin and his band of adventurers and soldiers. To say it did not go well for the penguin kingdom would be an understatement. Documentary evidence below in the form of photos. The scenario was based around trying to collect objective tokens which could then be traded for a free draw from the artefact deck. Although I managed to pick up a couple I ended up getting decimated prior to the final act and Torin scored an ‘Epic Victory’ with a score of 10 to 2. A hugely enjoyable game and a great opponent.

The second (and as it turns out, due to time last) game of the day was against Carl, who was running with a cast based around the Three Musketeers using some beautiful 40mm scale miniatures. I fared not much better in this game, in which the scenario allowed us to pickup and recruit extra animal companions, extras and artefacts as the game went on. Yet again like literal fish out of water the Kingdom of Findus was defeated, although this time we did manage to make it through the full trilogy deck.

Another epic victory for my opponent, this time 16 victory points to 4!

All in all it was a great day at a great venue, well organised and run by Wayne. Next up in terms of 7TV events I am attending includes the ‘official’ Crooked Dice 7TV Fantasy day at Foundry Miniatures in July. Then Wayne is organising a follow up event to Flashing Blades with a very different theme at the end of November with a ‘Doctor Who’ event.

In the meantime I am hoping that there may be another event at Board in Brum in the interim and we may even squeeze in another 7TV day at Dales over the next few months.

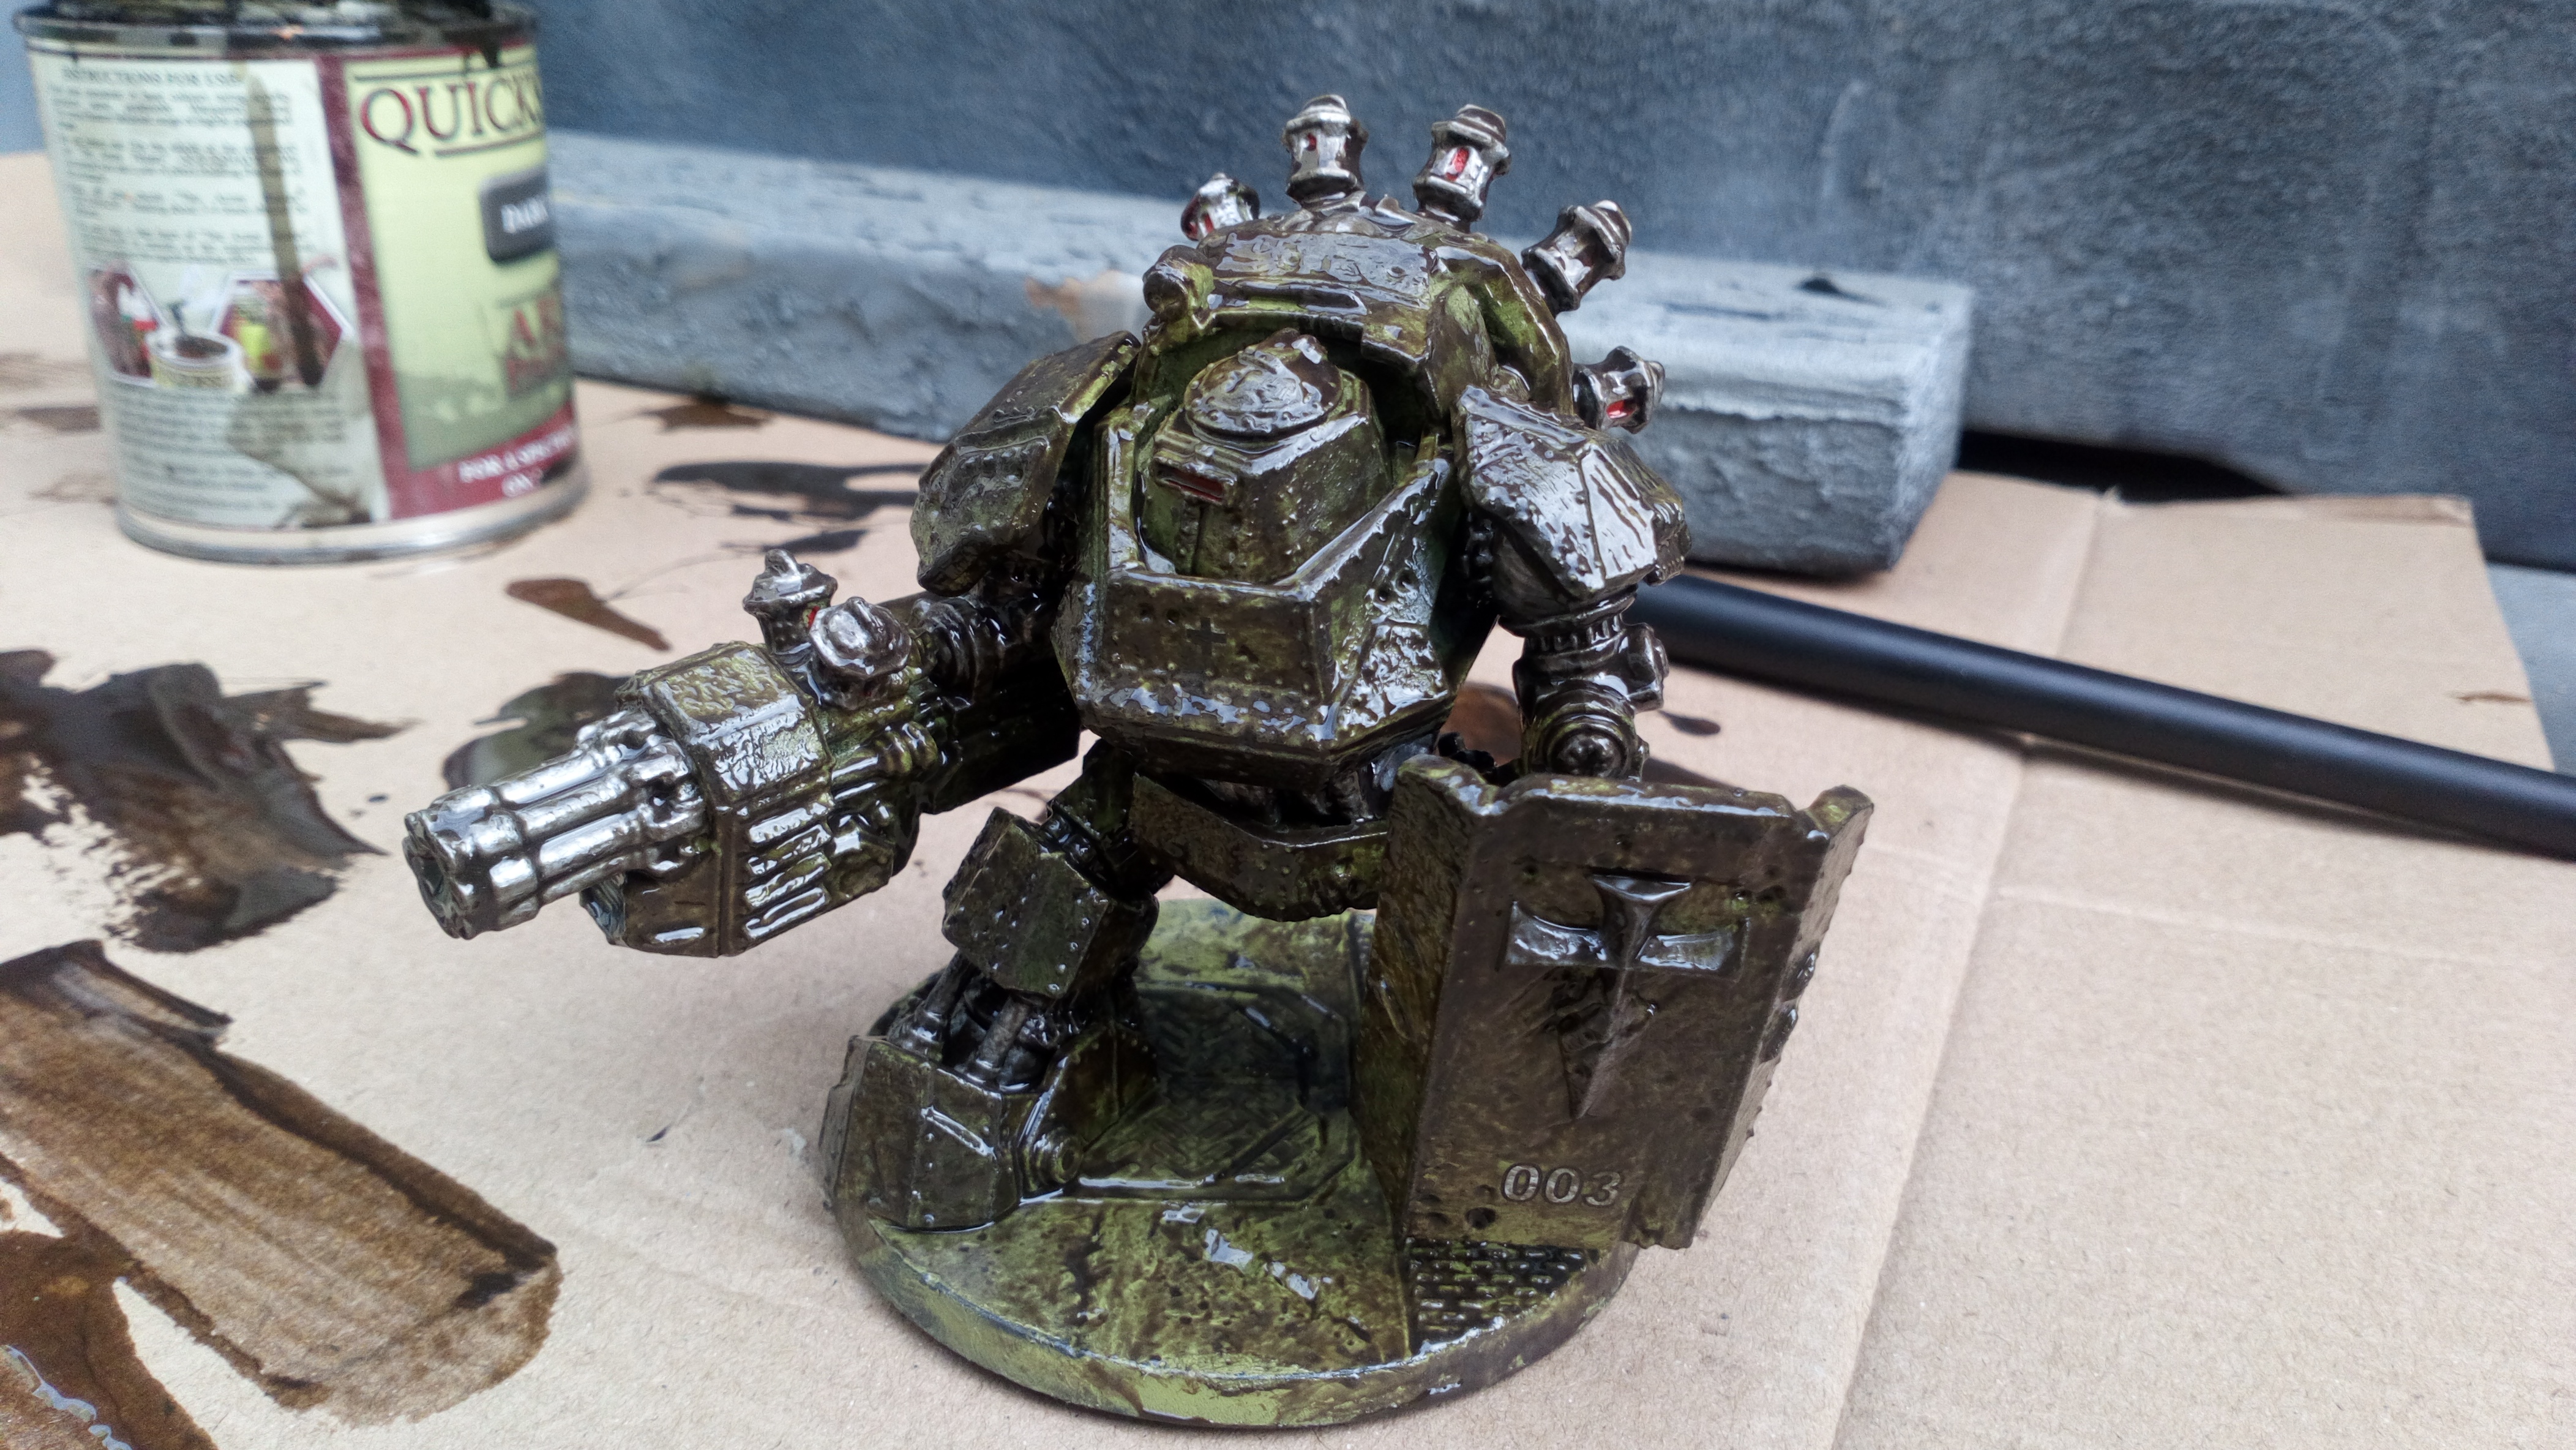
In terms of my next gaming day out, I am visiting Warhammer World for the first time since pre-pandemic times soon and have to speedpaint some Death Korps of Krieg Imperial Guard for the games of Kill Team we are planning on playing on the day. These miniatures are currently sat primed and ready for painting and I will definitely approaching these in much the same way as my penguins in terms of speed painting (both in terms of the techniques and products I’ll using), after all I only have a week to get these guys battle ready for the grim dark future!

Hexon Trench Terrain – finishing a really (really) old project

About ten, maybe eleven years ago I attended the (now defunct) Triples wargames show in Sheffield. This was years before I was there as a trader and so I was purely there to have a nosey and spend some hobby coin.

One of the things I picked up at the time was some plastic vac-formed hex terrain from Kallistra . This is part of their Hexon terrain system and I fancied using it at the time for…. Well to be honest it is so long ago now I have no idea why I picked it up, other than I liked the look of it and its was (and remains) good value.

I then spent some time painting this up. As far as I remember I went with a black primer and then used some brown acrylicto basecoat (the sort of stuff you get in tubes from the cheapo shops). This was followed by a drybrush of ochre. I then liberally brushed on some Army Painter Quickshade Strong Tone dip. Once dry I matt coated it and then there it sat for about a decade unfinished in my pile of shame.

Untouched for over ten years!

Re-invigorated however by amongst other things the imminent release of the new version of Kill Team (and the trench loving Death Korps of Krieg contained therein) I decided now was the time to finally get this done. While I had done a the majority of the graft, I still needed to paint the insides of the trenches and add some flock and other terrain ‘dressing’ to spruce it up a bit.

I have about nine trench sections of various sizes.

In deciding on the general scheme I have left it open so these trenches could be used in historical, fantasy or sci-fi games. I went with a grey green for the trench inards and avoided painting any details like sandbags to keep it generic.

Trench interior planking given a green grey coat.

I went with Quickshade again for the shading on the trench interiors (although this time using the Dark tone).

I went with liberal use of flock and clump foliage / lichen to give some interest to the expanses of brown concentrating in particular in placing this to hide the ‘hex lines’. For extra effect I also used Citadel Nurgle’s Rot to add slime/toxic waste/stagnant water to the small craters and holes molded into the parts.

Once complete and dry everything was given a very liberal matt varnish spray.

I’ve not had chance to use these in a game yet, but have set them up on a table for some photos and to test out some layouts. In general they look pretty good but they don’t fit together very flush so I may have to play around with a knife removing some of the plastic ‘lip’ from the edges of the pieces which I think will help a little.

I managed to get this finished in a couple of evenings, which brings to the end a story that started many many hobby years ago. A small dent in the backlog, but very satisfying all the same.

World War III – a new front opens

Despite waxing lyrical recently about my choice of 20mm scale for a ‘cold war gone hot’ project I got distracted by some shiny things. These things cooincided with the annual black friday sales, the result of which being I now have two parallel projects.

So, I’ve ended up with quite a collection of 15mm (1/100) scale miniatures, the majority of which are from Battlefront’s Team Yankee range. I’ve picked up some British, US and Soviet tanks and vehicles and added to this some infantry (which I am multi-basing for use with Seven Days to the River Rhine by Great Escape Games).

I’ve been concentrating on British armour and Soviet Infantry so far. The British armour has been a joy to build and paint. I have been ploughing through the relatively new British Starter Force box set which is based around a core of Challenger 1 and Chieftain tanks.

The contents of the British Starter Force box

Again concentrating on a mid-80s European theatre I have gone with the standard BAOR (British Army of the Rhine) camo scheme using Army Painter Army Green as the basecoat with an airbrush application of Vallejo Air black. Details are then picked out with a watered down all over wash of Army Painter Dark Tone wash. I then highlight/drybrush up with a Citadel Death Guard green and a final overall light drybrush of Army Painter Brainmatter Biege.

Awaiting a basecoat of Army Painter Army Green spray primer

Tracks are basecoated with a flat earth brown, Strong Tone wash and metallic drybrush.

Waiting in painting line – some British Marksman AA Batteries and various US and Soviet vehicles. There are also some British Infantry Milan Teams ready for detailing.

I have only finished one Chieftain to completion so far (as a test model for the overall scheme); however as I am batch painting I have a lot (including more Chieftains, Challengers, armoured cars and other AFVs all in various stages of completion).

The Soviet Infantry is from Plastic Soldier Company. There are an amazing 141 figures in this set.

I followed a fairly basic scheme for the uniforms. Following an undercoat these were base coated with Vallejo Air Khaki followed by a Strong Tone wash. Webbing was picked out with Death Guard Green, helmets with Russian Green from Coat d’Arms and shoulder boards (very carefully) in red.

I’ve rarely painted 15mm scale miniatures, and I really had to adjust my mindset. Rather than trying to paints loads of mini-masterpieces, at this scale it is really more about the overall effect and how things look at a distance on the gaming table. At all scales I think consistent basing can hide a multitute of painting sins, and this was my goal here.

My 20mm stuff I am continuing with but am going to hold over for more skirmish level gaming. I recently picked up some 1/76 scale Airfix kits that I am going to start work on soon.

Let’s hope I can actually get some of these to the table sometime in 2021.

Return of the Argonauts – Enter the Spartoi

I’ve started on the first batch of miniatures from the Crooked Dice 7TV Argonauts Kickstarter.

Enter the Spartoi – deadly regenerating robots created by evil genius Ulysses Argo!

These metal miniatures are lovely sculpts and required next to no clean up. After a quick wash in warm soapy water these were dried off and given a black undercoat from a can.

I decided on a dark metallic look so used a basecoat of Humbrol Bronze, followed by a light zenith of the Gold from the same range (both in spray cans). To add some depth I highlighted with a silver drybrush and an all over wash of Army Painter soft tone wash. Certain highlights were then re-picked out in silver.

My original plan was to use a set of old tank number decals on the shields to emphasise their autonomous robotic nature, however having completed the painting and with the shields having the same metallic look as the bodies I thought I’d try something different.

Constrast paints applied quite thinly over the metallic base gave a glass/gem like appearence to the shields. The addition of Humbrol gloss cote as a finishing touch further emphasises this. I like the idea that these are some form of energy absorbing device.

The skulls were painted in a yellow sand and then given a soft tone wash.

Plenty more to come soon (by your command…..)

Reich Busters Vril Panzer

I recently got a rather large box in the post all the way from France.  Inside, my Reichbusters Kickstarter pledge rewards.  I am a bit of a sucker for Weird War settings and games and from what I saw when the campaign was running, the game looked right up my street too.

However it was really the miniatures I was after.  I fully intend to play the game, but like many things in my collection the thought ‘I could always use this for 7TV‘ is never far from my mind.

Now, there are a LOT of figures here.  The scale is somewhat larger than standard 28mm and probably sits somewhere between 35 and 40mm.  Fine on there own in any game, but might look a little odd alongside other parts of my collection.  Where this isn’t really a problem is with the ones that immediately caught my attention when opening the boxes for the first time.  The ‘Vrill Panzers’ – basically big stompy (piloted) robots.

2020-04-10 10.51.43
Vrill Panzer top right (more on the big chap in a bit…..)

There are two of these in the set of boxes I received, they are (like all the miniatures) one piece casts in a very hard PVC style material.  Absolutely no sign of warping or bending weapon syndrome from what I have seen so far.  The Vrill Panzers are chunky, really nicely detailed and heavy; however they are by no means the biggest models in the set (more on that later).

So in terms of getting the Vrill Panzers painted up I thought I would go for a ‘late war’ dunkelgelb, by really weather it up.  With there being two in the set I could afford to experiment a bit on this first one.

First step was a wash in warm soapy water.  This is something I never used to do on any models, but now religiously do whether I am painting PVC, hard plastic, resin or metal.

Once dry I undercoated with a can of black primer and followed this with a base coat of dunkelgelb (from Plastic Soldier Company – again in a can).

2020-04-14 13.02.05

Once dry I applied decals.  There were none provided with the game, but I have a huge stash of World War II and Dust Tactics decal sheets that I have amassed over time, so I had plenty of choice.  My usual approach, which I used here, is to paint the area I am going to apply the waterslide decal to with gloss varnish first.  Once dry I applied the decal itself and again let it dry before another coat of gloss.  I placed a few markings strategically then moved on to the weathering.

The first stage was to stipple using an old bit of sponge both dark brown and then silver across the most worn areas of the model.  Next it was time to dirty it all up. My plan here was to paint on Army Painter Quickshade Dark Tone.  I have had some success in the past with a fairly light coat of this brushed on to models.  It leaves them very shiny, but protected and I always apply matt varnish as the final step in these cases.

2020-04-16 23.09.42
Ready for Quickshade

2020-04-17 17.18.06
It’s all about to go wrong

The problem I hit here was my can of Quickshade was quite old and hadn’t been sealed properly the last time I used it.  As such I had to remove a thick skin from the surface of the shade within the tin before application to the model.  This is where the alarm bells should have run, however I proceeded to ‘slap in on’.  It was at this stage I noticed how thick and gloopy it was.  I stirred it up as usual but once applied it became obvius that something was wrong.  Rather than apply the subtle shading I was after, and rather than immediately receeding into the contours and crevises of the model it just sat there like some vile dark slime.

2020-04-17 17.35.21
Bit much?

Through excessive mopping up with a brush I was able to dave things to some degree, but the weathering has ended up being much, much heavier than I intended.  Once the matt varnish (Testors Dullcote) was applied things looked a lot better, although I had made some of the decals rather difficult to make out.

The final weathering stage was to add some rust (it seemed apt with how heavy beat up the mech now looked).  I drybrushed on some Citadel Dry Ryza Rust and in the end I think this turned out OK.

The base was in part basecoated in silver and then painted over with Citadel Basilicanum Grey (a contrast paint, this is my new favourite way of painting a gun metal effect).  All the bases in the game have a metal gantry / walkway look to them, so this fitted quite well especially when finished up with some more drybrushed rust.  The areas that looked more stone like were done in greys.

2020-04-29 13.34.39
The finished article

All in all I think I managed to rescue it.  Apart from the Quickshade incident it was an enjoyable model to paint.  As I have another one in reserve I might go with a different, cleaner, more fresh of the production line look.

In addition to the Vrill Panzer I also painted a couple of the ‘troop’ models from the game to test out some colours and techniques.

I’ve also started on the monstrous Projekt X mech.  Remember when I said the Vrill Panzers weren’t the biggest model, well this fella is truly gigantic (and actually quite difficult to lift).  He is still work in progress and I’ll cover this in another article.